When to Repot Your Houseplant
Knowing when your plant needs repotting is crucial. The best time to repot is during spring and summer, as these are the growing seasons for most plants. However, if your plant seems to be struggling, don’t wait just because it’s winter. There are clear signs that indicate it’s time to repot, regardless of the season:
- New Plants: If you’ve recently purchased a new plant, expect to repot it within six months. Nurseries often sell plants that are already outgrowing their pots, and the soil used in nurseries may not provide the nutrients your plant needs for long-term growth. Give your plant time to adjust to your home, but be prepared to repot it in the coming months.
- Slowed Growth: If your plant isn’t growing as quickly as it used to or if its leaves are wilting, it may need more room or fresh soil. Repotting into a larger container with nutrient-rich soil can help revitalize it.
- Low Soil Levels: If the soil level in your plant’s pot drops, it’s a sign that the soil has compacted or eroded. This exposes the roots, which can damage the plant. Topping up the soil or moving the plant to a new pot can solve this issue.
Even if your plant seems beyond saving, it’s often worth trying to repot. Fresh soil and a larger pot can work wonders for struggling plants.
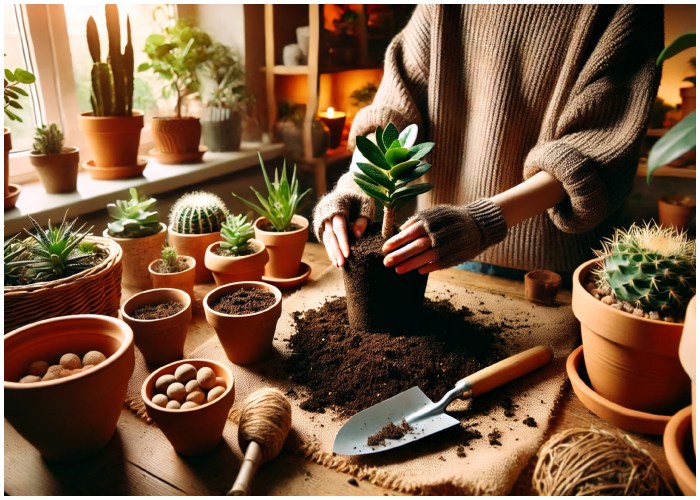
How to Remove a Plant from Its Pot
Removing your plant from its current pot is a delicate process but essential for a successful repotting. Prepare your workspace by laying down a repotting mat or a large trash bag to contain the mess. Removing the plant when the soil is dry is best, making it easier to work with.
- Plastic Pots: If your plant is in a plastic pot, gently massage the sides to loosen the soil. Then, grasp the base of the stem and slowly tilt the pot to ease the plant out. Once removed, gently shake off the old soil from the roots.
- Rigid Pots: If your plant is in a ceramic or terra-cotta pot, use a chopstick or soil scoop to loosen the soil around the edges without damaging the roots.
When removing the plant, you want the roots to be free and loose, no longer in a circular shape. Even if you tear a few roots, this can actually encourage new growth once the plant is in fresh soil.
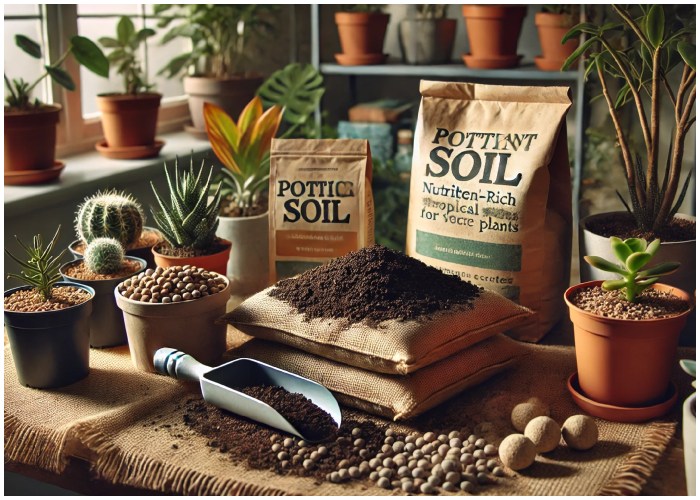
Choosing the Right Soil for Your Plant
The quality of your soil plays a significant role in your plant’s health. Good soil should smell earthy and fresh, as this indicates it’s rich in nutrients. Most houseplants will thrive in well-draining tropical soil mixes that provide good air retention. For succulents and cacti, opt for a drier soil mix designed for their natural arid environments.
Adding clay pebbles to the soil can help prevent root rot by improving aeration and keeping the soil from staying too moist. It’s always better to err on the side of drier soil, as overwatering is one of the most common issues in houseplant care.
Picking the Right Pot for Repotting
Choosing the right pot is essential for your plant’s success. For smaller plants, pick a pot that’s only 2 to 3 inches larger in diameter than the current one. For larger plants, increase the pot size by 4 to 5 inches. If the pot is too large, the plant may struggle to absorb moisture, leading to root rot.
The material of the pot also matters. Terra-cotta is an excellent option for most plants, as it allows for natural air circulation and helps prevent overwatering. Avoid plastic pots, as they trap moisture and create the perfect fungus and root rot environment. Whatever material you choose, ensure the pot has a drainage hole so excess water can escape.
Caring for Your Plant After Repotting
After repotting, it’s crucial to maintain a consistent environment for your plant. Keep the plant in the same spot it thrived in before, with the same light and temperature conditions. Don’t immediately increase the amount of water, even if the pot is larger—stick to your usual watering schedule and only adjust as the plant grows. Using a soil probe can help determine when the plant needs water by allowing you to check the soil’s dryness at the root level. Consider using a grow light for plants in lower-light areas to ensure they get enough light without constant monitoring. Repotting may seem daunting, but it’s essential to keeping your houseplants healthy. By following these steps, your plants will thrive in their new environment, growing bigger and better.